Features Pricing WordPress Contact Create free account
WordPress WordPress plugin

Add a reservation system to your WordPress site. In minutes.

No code, no developer. Just a few settings. Install the plugin, enter your Widget ID, and a reservation button appears on your website.

Get started free →
Free WordPress plugin No coding required Works on any theme
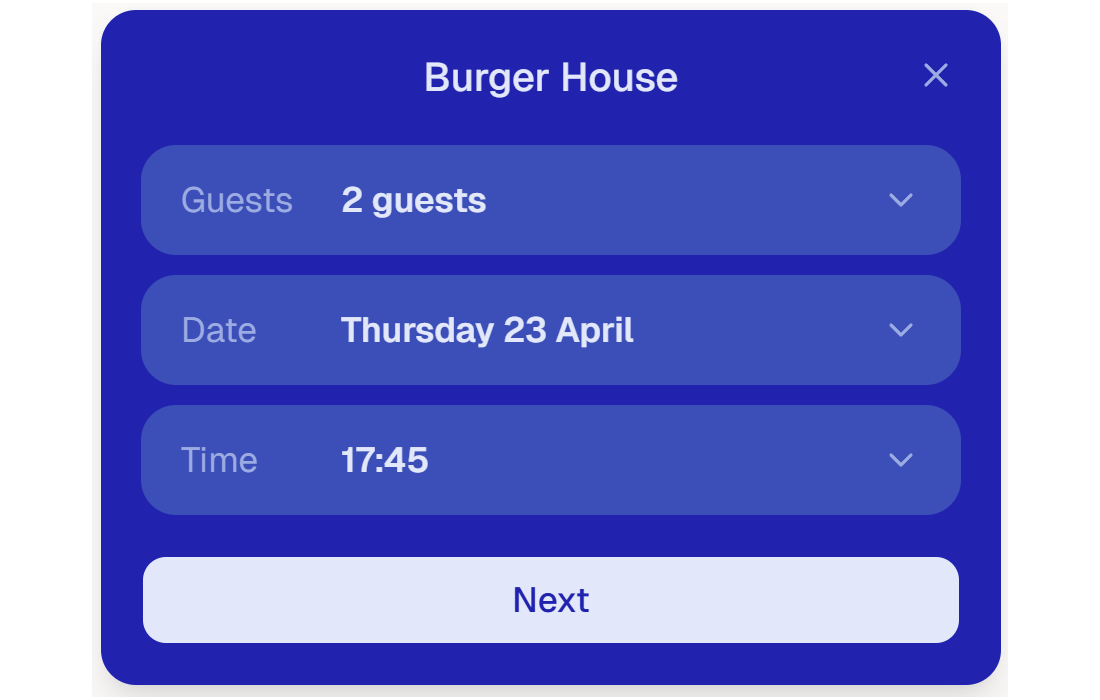
Tablemonk reservation widget

A reservation form, directly on your own website.

  • A floating button appears in the bottom-right corner of every page.
  • One click opens the reservation form, without leaving your site.
  • Colors, language and opening hours sync automatically from your Tablemonk dashboard.
  • Works on desktop, tablet and mobile.

Tablemonk handles the hosting. You just install the plugin.

The reservations, the widget and the software all run on our servers. Your own WordPress hosting doesn't need to do anything extra.

Runs on our servers

The widget and reservation system load from Tablemonk's servers. Whether you have budget WordPress hosting or a fast VPS: it makes no difference.

We handle updates and security

Tablemonk keeps the reservation software up to date automatically. No technical maintenance on your end.

Your site stays fast

The script loads asynchronously and never blocks your WordPress page. Your visitors won't notice a thing.

A reservation button, always within reach

Tablemonk places a floating button on every page of your site. Visitors see it immediately and can book a table in just one click.

your-restaurant.com
Your restaurant
Tablemonk widget button

Four steps. That's all.

From zero to a working reservation button, in less than 5 minutes. No technical knowledge needed. Everything through regular settings.

No developer needed. No code to touch. Everything through the regular settings in WordPress and your Tablemonk dashboard.
1

Create a free Tablemonk account

Tablemonk is the system that manages all your reservations. Create a free account at app.tablemonk.com and set up your restaurant: add tables, set your opening hours and configure your reservation rules. The widget on your website will automatically pull everything from this account.

app.tablemonk.com →
2

Download the WordPress plugin

Download the plugin from your Tablemonk dashboard.

Settings › Widget
or download it directly here: Download plugin
3

Install in WordPress

Exactly like any other WordPress plugin: go to Plugins › Add New Plugin › Upload Plugin, upload the .zip file and click Activate.

Plugins › Add New Plugin › Upload Plugin
4

Connect the plugin to your Tablemonk account

Log in to app.tablemonk.com and go to Settings › Widget. There you'll find your Widget ID — the unique code that tells WordPress which Tablemonk account to use. Copy it, then go to Settings › Tablemonk in WordPress. Paste the ID in the field and click Save.

Settings › Tablemonk

The reservation button goes live immediately after saving.

Your widget is live!

A "Book a table" button now appears in the bottom-right corner of your website. Visitors click it and book directly, without leaving your page.

Pro required

The widget requires a Pro plan

The reservation button on your own website is a Pro feature. With Pro, guests can book directly from your site, without phone calls or emails. You can try Pro free for 14 days.

14-day free trial · No payment required · Cancel anytime
Try 14 days for free →

Questions about the WordPress plugin

Do I need coding knowledge to install this?
No. Install the plugin like any other WordPress plugin: upload the .zip, click activate, and fill in your Widget ID. No code required.
Is the plugin free?
The plugin itself is free to download and install. The reservation widget on your website requires a Pro plan (€19.99/month). You can try Pro free for 14 days, no payment needed during the trial.
Where do I find my Widget ID?
After creating a Tablemonk account, go to Settings › Widget in your dashboard. Your Widget ID is displayed there.
Does the widget slow down my WordPress site?
No. The script loads with the defer attribute, so it never blocks page rendering. Your site stays fast.
Which WordPress versions are supported?
WordPress 5.9 and higher. PHP 7.4 or higher. The plugin works with all themes.
How do I add a reservation system to my WordPress website?
Install the free Tablemonk plugin via Plugins › Add New › Upload Plugin in your WordPress dashboard. After activation, go to Settings › Tablemonk Widget, paste your Widget ID and save. A reservation button appears on your site immediately.
Can guests book a table directly on my WordPress site without being redirected?
Yes. The Tablemonk widget opens a reservation form directly on your own page. Guests never leave your website; the form appears as an overlay in the bottom-right corner.
How do I add an online booking button to my restaurant website?
With the Tablemonk WordPress plugin you add a booking button in four steps: create a Tablemonk account, download the plugin from Settings › Widget, install it in WordPress, and enter your Widget ID. The button is live within minutes.

Ready to stop missing reservations?

Add a booking button to your WordPress site today. Free to start, Pro for the widget.

Free sign up Ready immediately 14-day free trial